I came across Baby Jesu'.
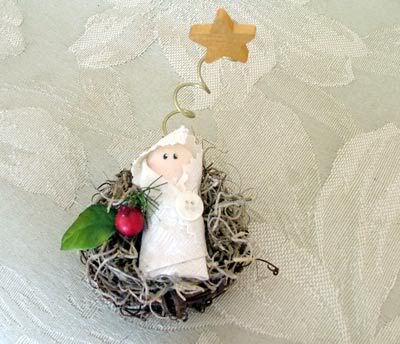
He never fails to make me smile. He certainly isn't the biggest, splashiest, most useful or difficult item I've ever made, but he is my favorite. It's been so long since I first started making Baby Jesu' that I can't even remember if it was from a pattern or just something I saw that was an inspiration. He also gets the biggest reactions from the customers.
I want to show you how to make one for yourself. It's also a great project to do with kids that are old enough to handle a low-temp glue gun. Here's what you're going to need:
Small swatch of peach or flesh colored fabric (cotton or cotton blend)
One 3-inch mini grapevine wreath
Small amount of Spanish moss
Small amount of fiberfill stuffing
4 inch square of linen fabric
Heavy duty wire
pencil
button
1 small wooden star
gold paint
Small artificial leaf and berry
Let's get started. First you're going to lightly trace around your finger on the piece of flesh colored fabric. I used my finger in this photo but actually it works better if you trace around your thumb. That way you get a nice plump Baby Jesu', the breastfed version.
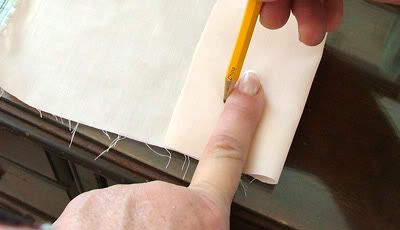
You'll have something that looks like this:
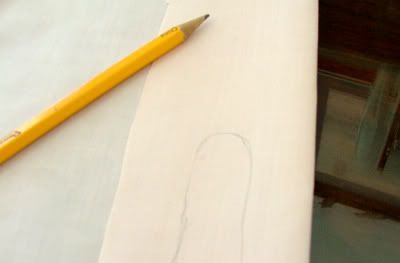
Don't worry about being perfect. A multitude of sins can be hidden under the swaddling clothes. Sew along the line using a small stitch length.
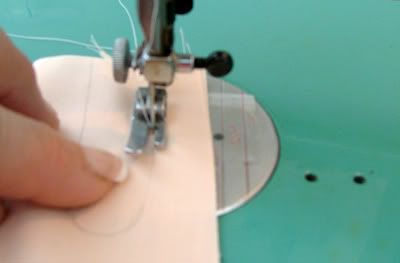
Carefully cut out the shape close to the stitching.
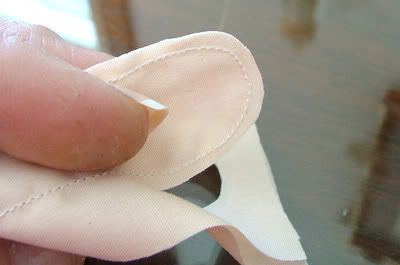
Use the eraser end of the pencil to turn the shape inside out.
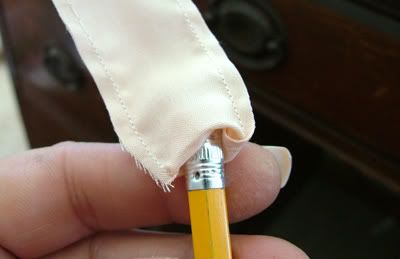
At this point I iron the shape flat so that it will look neater when it's stuffed. Grab a small amount of stuffing and push it into the fabric using the pencil.
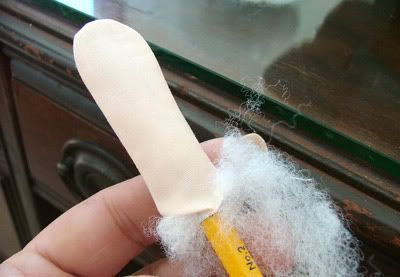
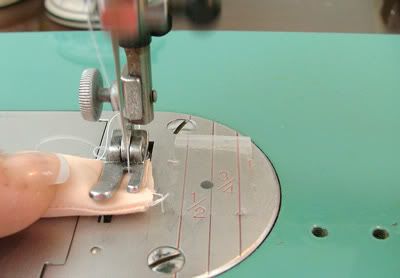
Stitch the open end of the tube closed.
Cut the 3 inch square of linen fabric and fray the edges. (You can use any type of light colored fabric for his swaddling clothes). Pull the bottom edge up like this:
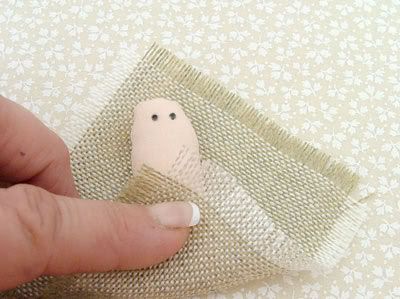
Pull the right side over.
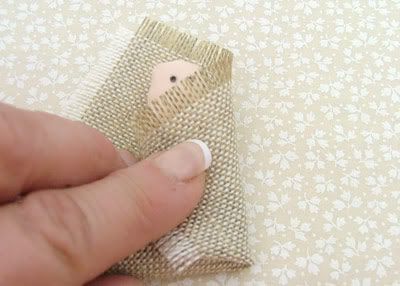
And then the left.
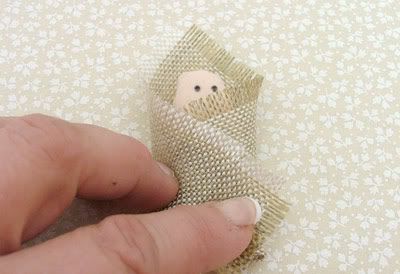
At this point you can take a few stitches to hold the wrap from unfolding or you can add a touch of glue to hold each fold closed. I use the glue, it's easier.
Glue a button towards the side, use a marker to make two eyes.
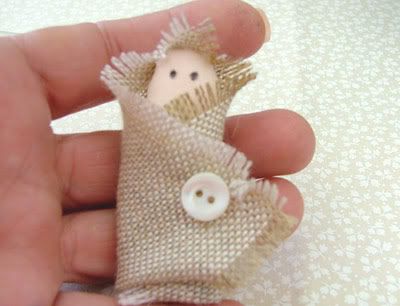
Sometimes the top of the head looks a little bumpy. I put a small amount of glue on top of the head and fold the fabric over.
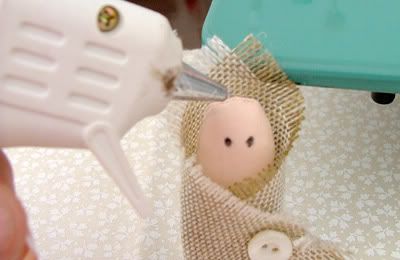
If you want to get fancy you can dip the point of your pencil into some white paint and put a little dot on the edge of his eye, like this:
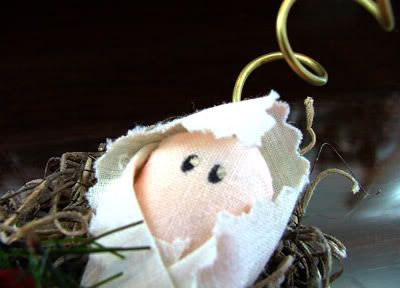
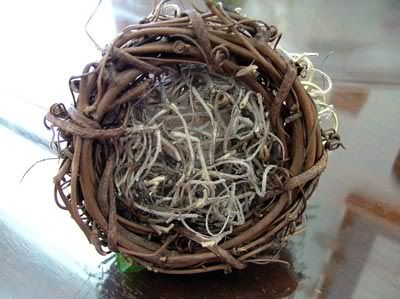
Here's the bottom of the 3 inch wreath. I've put a tuft of Spanish moss to cradle the baby.
I didn't have any wire in the house for this tutorial, but this will give you an idea of how you get the twist. Just wind it around a fat pencil or a marker. Use a snip to cut it to the right length.
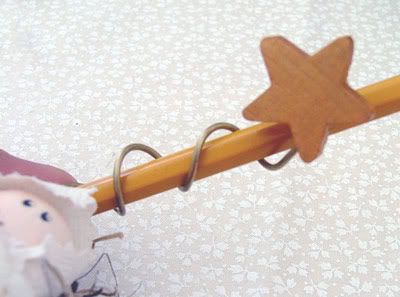
Twist one end of the wire to make a flat spriral. Glue this to the wooden star which you have painted gold.
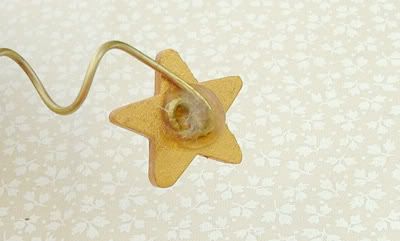
Put a big glop of hot glue on the back edge of the wreath to hold the wire upright.
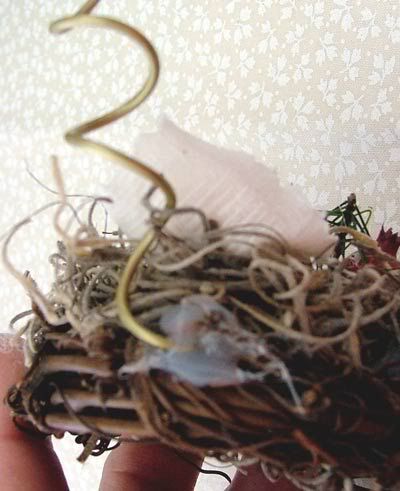
Put a small amount of glue on the back of the baby and lay him in his nest. I also embellish with a small artificial leaf and a berry.
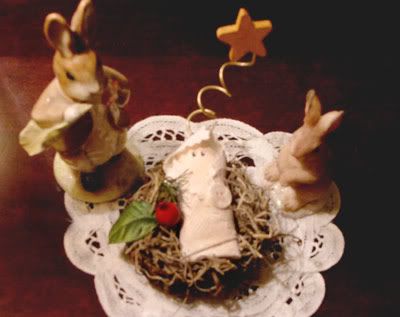
He looks so sweet on my entry hall table. Ufortunately the wise men had previous engagements, so I found two wise rabbits to watch over the child.
- - - - - - - - - - - - - - - - - - - - - - - - - - - - - - - - - - - - - - - - - - - - - - - - - - - - - - - - - - - - - - -
You can do this project with a group of neighbors. If you don't sew have one of your sewing friends make the babies ahead of time. Gather together with all the elements and have a Baby Jesu' making party!
I hope you enjoy this tutorial. Give me a shout out if you'd like to see more of this type of thing in the future.
By the way, this is Post Number 400!!!




25 comments:
Okay. I want one. So I just sent this post to my daughter who is craftier than I am and her five year old daughter who is craftier already than she is. I ordered one. So cute I can hardly stand it. I am ... like NOT crafty or arty at all. I play piano. Does that count?
This is simply precious. This will definitely have to be on the list of things to do. Thank you for sharing.
I want one, too...I am sooooo not crafty and, as simple as this looks, I will find some way to mess it up..but, I'm gonna try.
ooo, is it ok if I use your little picture of the finished one and have everyoone come over to get the instructions??
Thanks, bj
Darling!! Hot glue in this house had to be baned because the boys were trying to glue each other's underwear closed at the top.... I wont go into any more detail than that....
I like to sew, but I am not crafty really...
Lucy - YES!!! Put those kids to work. They need to make this for you.
Susan - I'm glad you think it's precious because so do I.....it's just my favorite.
BJ - Please, give it a try. Enlist the help of a crafty friend. It will be fun. AND yes, you can use the picture. Thanks for sending people my way.
Heidi - Good gosh girl, you are up early. OH!!! I forgot, your married to a dairy farmer. Never mind. Keep the glue guns away from the boys.
What a cute idea!
Thanks for sharing!
Hi Suzanne,
I discovered your blog a few days ago and have been enjoying reading your entries :)
Your "Baby Jesu" is absolutely adorable! It has been so long since I've had a chance to use my machine and this would be the perfect addition to my christmas decorations.
Thank you so much for sharing your instructions. I will be stopping at Joann Fabrics the next time I get to the city.
Thanks again and Happy Holidays ~
Debi
Tylerfarm
Maine
Too sweet! It makes me smile.
you are an interesting person, I really enjoy your blog. :-)
Beautiful! I am definitely going to make one, and yes! Please do more tutorials like this!
How precious!!! I will be attempting this soon {hopefully}. Thank you not only for the pictures but the wonderful tutorial. HOW CUTE!
Oh, how beautifully precious this is!! I love the addition of the wise bunnies!!
Congrats on 400!
This project is just sweet. I'll give it another year, but am saving it in my crafty bookmarked stuff...I think my grand will enjoy it more next year. He's a bit of a flutter this year.
I do want to correct you on one point of theology. I'm sure that you don't mean that "A multitude of sins can be hidden under the swaddling clothes." LOL! Best laugh of the day so far, my friend!!
That is just so cute! Wonderful..
No. 400! Way to go! Thank you so much for the tutorial. I will share!
What an adorable Baby Jesu! I've never seen another like it. Thanks so much for sharing the instructions and your step-by-step photographs! ~Arleen
Very sweet! I love homemade ornaments!
THis is darling and yes more of this kind of thing would be great!
Thanks for sharing!
blessings
mary
He's very sweet -- what a nice project for a holiday gift. This year I am making altered apothecary bottles (inspired by one of Anna Corba's wonderful paper crafts books) for "girlfriend Christmas gifts." It's so nice to be able to give someone a handmade present, if time allows!
That is adorable! My daughter would love one! I'm going to try it.
How very sweet!
Thank you so much for sharing the craft idea!
YES YES YES - Please do share more of your crafty ideas and all the directions. The pictures are really great and explain all the instructions very clearly!
I really love the cute Rabbits =
ALL RABBITS ARE WISE!
He's the reason for the season! Happy 400th!
Oh so sweet! Thanks for the tutorial!
Manuela
How sweet. I love anything that is about the reason for this Joyous season:) great Tutorial.
Post a Comment