Yesterday I mentioned that I'd show you how to make your own pillowcases. Why in the world would you want to make your own pillowcase? I've noticed that the quilt shops that I frequent all have patterns and kits for making colorful cases. They're just so different than anything you might find in the domestics department of your local big box store. I love the idea of having something colorful and unusual to rest my head upon and just think about the dreams that those kinds of cases will jumpstart.
I also mentioned that I'd have an opportunity for you to help others. My friends over at Craft Hope are just coming off their biggest project ever. Project 8 was providing towels for the Gulf coast oil clean up. Their hope was to collect 15,000 towels. They collected 70,000 towels!!! These women can make things happen..... and so can you.
For Project 9 they are working with ConKerr Cancer Center to provide colorful pillowcase for terminally ill children in hospitals across the U.S.
READ ALL THE DETAILS HERE
The pattern provided by ConKerr Cancer Center is provided HERE
OK, let's get started with sewing our pillowcase. We're going to start with our two pieces of fabric.
Main fabric - 26 1/2 x 40 1/2 inches
Border fabric - 10 1/2 x 40 1/2 inches
I don't have a lot of children's fabric in my stash but I did find this colorful animal print. Perfect..... lions and tigers and otters, oh my!!!

For my border print I chose a pink and white gingham.

The first step is to fold the border fabric in half lengthwise, with the wrong sides together. Press the fabric.

We're going to want to finish the seams so that the edges don't fray. A serger machine creates this edge.

See how the machine has zig-zagged thread over the edge to encase it, all while sewing the straight seam? Well, I don't have a serger and neither do many hobby sewers so I'm going to show you how to actually encase the edge, making a French seam. It's really not hard once you've seen it done.
Pin the long edges of the two fabrics together with the border attached to the wrong side of the main fabric. It sounds wierd because that means your seam would be on the outside of the pillowcase. But that will change in a minute.

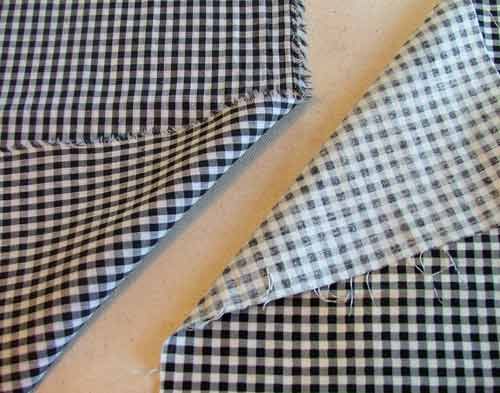
Sew along the long edge, using a 1/4 inch seam. I'm going to switch to a sample swatch because it will be easier to see what I'm doing. That animal print is a little busy.
Right sides of fabric facing out.

Sew the 1/4 inch seam.

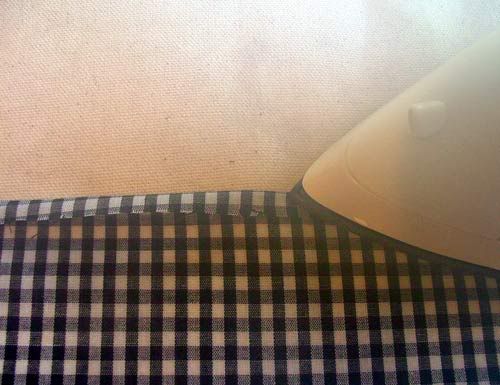
Open the seam out and press flat.

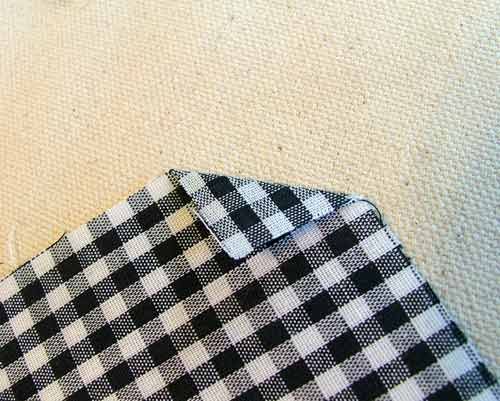
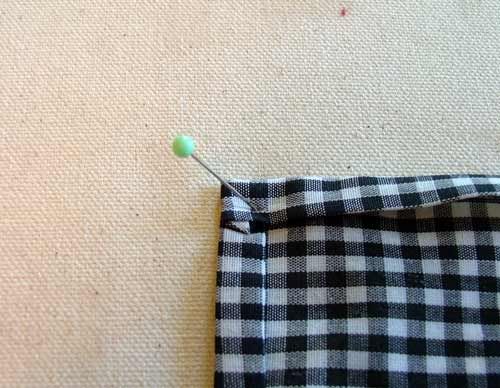
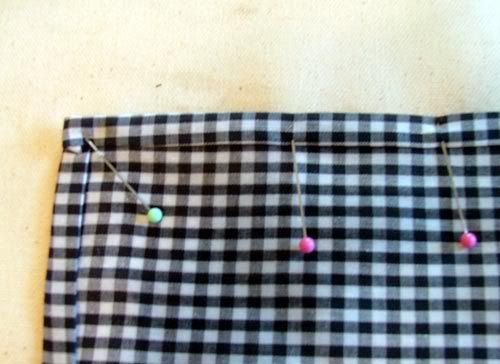
Fold over with raw edges inside and press flat.

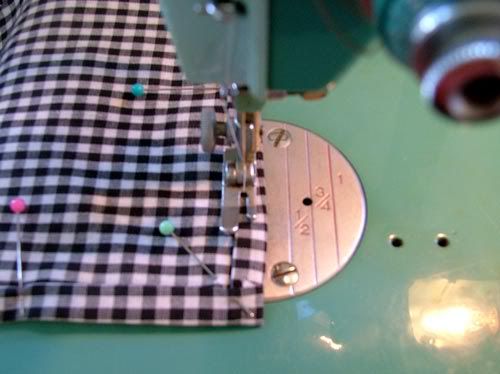
Encase the raw edge by sewing a 5/8 inch seam along the edge.

This is a french seam seen from the inside.

I like to take it a step further and do a line of stitching that makes that piece lie flat. Just stitch right along the edge on the wrong side. Here's what it looks like after stitching viewed from the wrong side.

And from the right side.

At this point everything is encased, flat and looking all professional.
You can do this on all edges of the pillowcase including the border, the long edge and the short edge. Do them in this order.

After sewing the long edge you'll be basically left with an open ended tube so when you go to sew the encased seam down flat you're going to need to do a little "scrunching" to get it through the machine without catching fabric. Just go slow.
Here's the finished pillowcase which I will be donating to the Craft Hope Project.

If you don't want to use the method of creating a French seam, just sew in the order given and finish the edges with pinking shears.
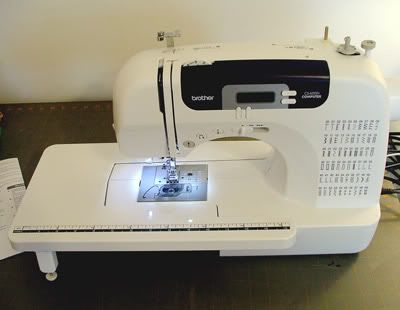
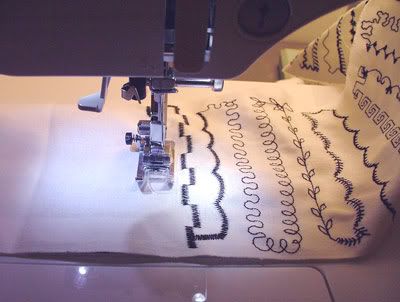
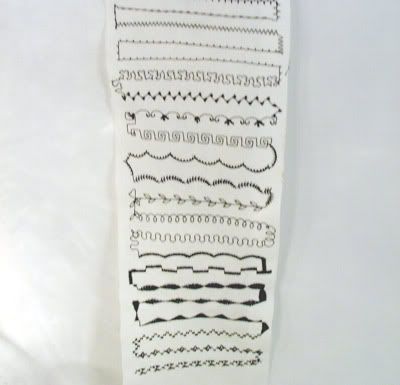
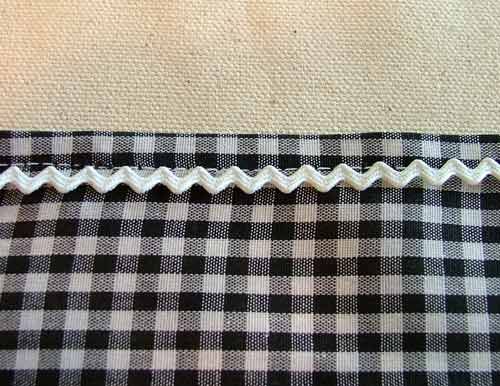
Another idea is to use a decorative stitch on the area where the main fabric and border meet. I would have done that EXCEPT my modern electronic machine with the fancy stitches has decided to have a nervous breakdown. Yeah, and she's only a year old.
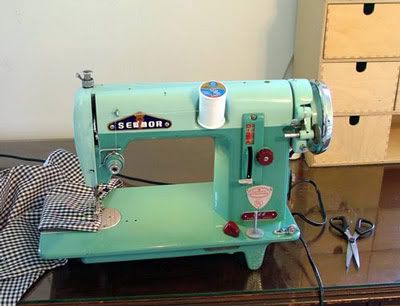
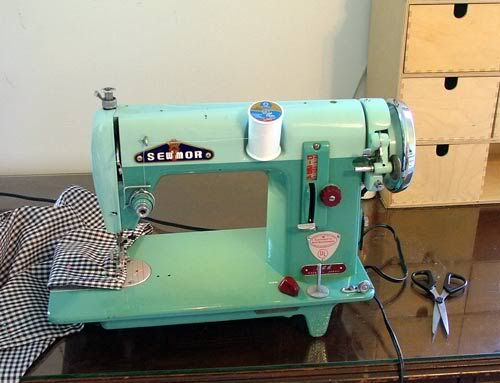
Many thanks to my friend made of cast iron, Beverly, who faithfully performed her straightforward and straight-stitching duties flawlessly. Gotta love a vintage machine!