I use this type of star tip that will spread a good amount of icing.
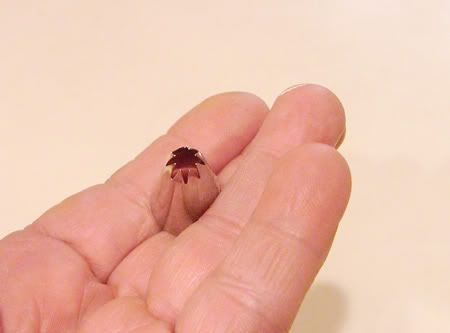
Slip it inside the bag and fold the top of the bag down. This will make it easier to spoon the icing inside the bag.

Spoon icing into your bag so that it's a little more than half full. Fold the side back up.
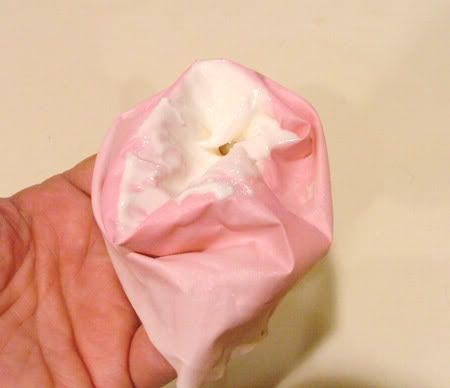
Twist the end of the bag shut so that the gooey icing doesn't escape. I used lots of red icing last year which left my bag a permanent shade of pink.

Lay down the four chimney pieces, wrong side up.
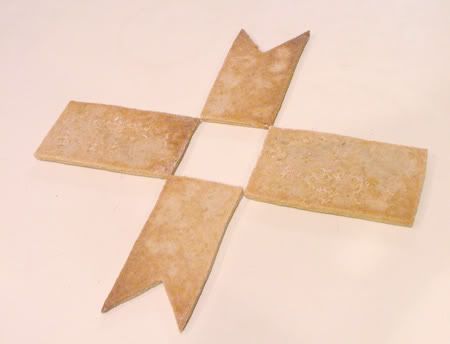
Pipe a line of icing along each edge that will connect.
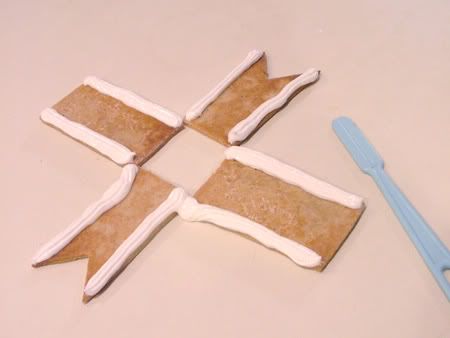
Stand two of the side up and support with cans.
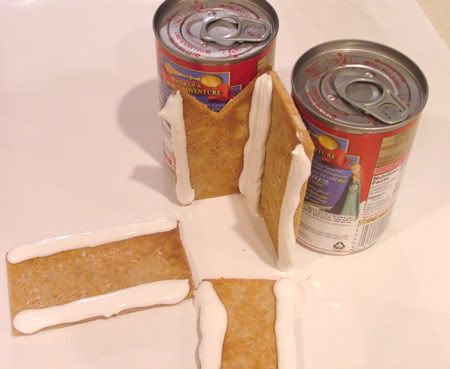
Do the same with the other two sides. Use a narrow spatula or knife to smooth and spread the icing on the inside.
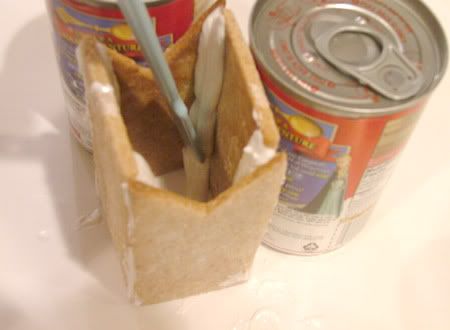
Leave this to dry with the cans as support.
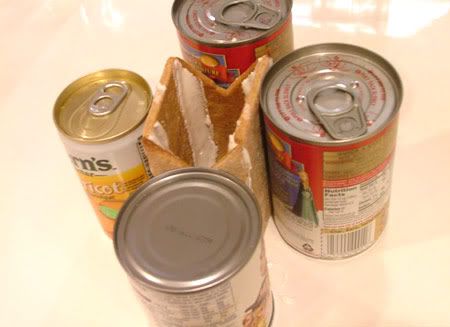
Repeat the process with your house pieces.

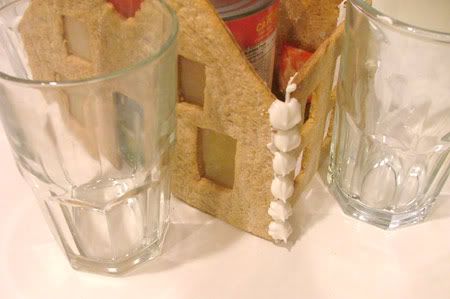
I used glasses to support the sides and slipped a large can inside to be safe.
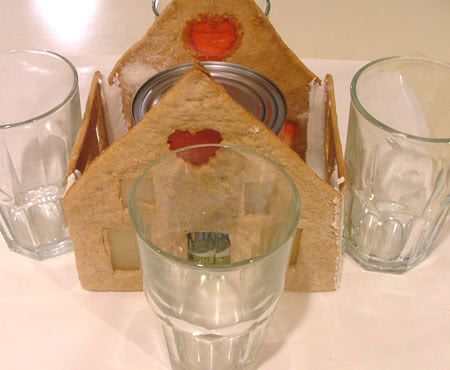
Using the pastry bag I ran a line of stars down the side. This way the main house pieces are glued from the inside and the outside.
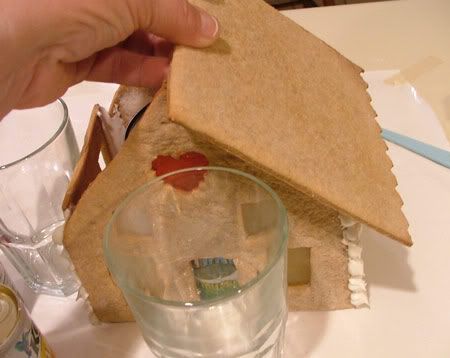
When the house is totally dry you can run a thick bead of icing down the roof ridges and across the top of the side wall. Carefully add the roof piece. Support it and repeat on the other side. After this dries you can add a line of rosettes on the top edge of the roof and add the chimney.
Tomorrow: Candy decorations galore!





11 comments:
This is going to be darling!! Did you say you were going to ship this to me for my counter decorations?? I could have sworn I heard you say it!! LOL
Oh-oh. This is where I run into trouble as I don't own the proper equipment. Hmmm...what to do...
Heidi - Hmmmm Did I say that?
Vee - Not to worry!!! Get a sturdy zip lock bag or some type of strong plastic bag. Cut off one of the bottom corners, fill the bag with icing and voila' ....you have a hand made pastry bag.
You are putting me to shame.
The last time I made a gingerbread house, I use graham crackers and cake decorators icing.
Say, how did your beautiful circle window turn into a heart? Hmmmm? How many of these puppies have you made anyway? LOL!
Thanks for the tip; I'm about to give it a go!
Heh, heh, heh....I'm not telling Vee. Actually that first batch was so awful I just gave up. It was such ugly gingerbread that the only thing I could have made out of it would have been a troll cottage!!
- Suzanne, the Farmer's Wife
I'm here from Vee's to see if I can learn to do this...I think maybe I will be giving it a try for New Years, tho...I can't wait to see the finished product!
Sandi
I featured you on Tip Junkie today. Thanks for the inspiration!
your photos make it look so easy and effortless - methinks maybe it takes a tad more skill and finesse than you are letting on!
How long does it take to dry, Suzanne? (The Carpenter would like to know.) BTW, he says that the icing is a beautiful product and he'd like to have caulking that good. LOL!
It's been so fun seeing this come together. Yummy and beautiful! Have a great weekend!
Post a Comment