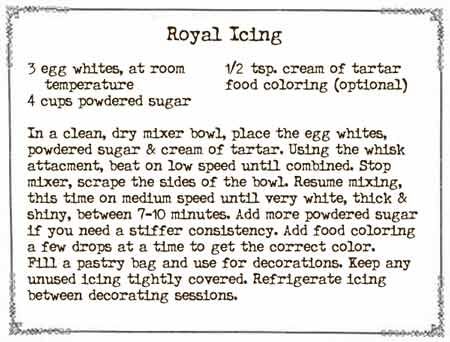
Before we start construction we must make the glue that's going to hold the structure together - Royal Icing. It dries rock hard and can be tinted with food coloring.
Here's the recipe.
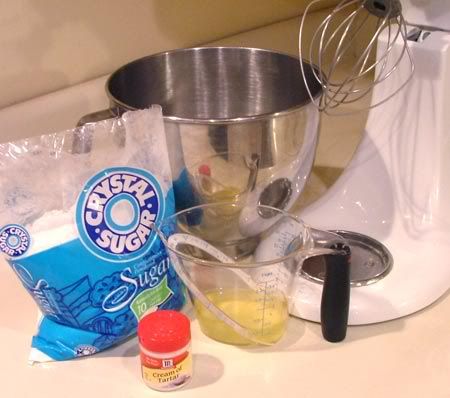
Gather up your ingredients. I baked some cookies the other day that called for egg yolks, so I had plenty of egg whites on hand.
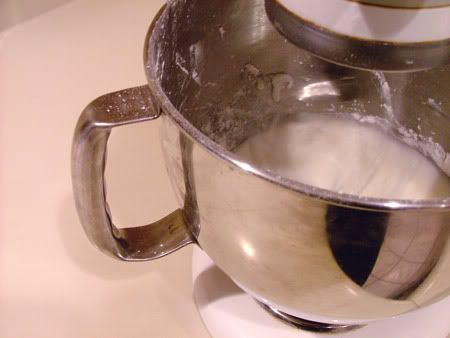
Put the egg whites and cream of tartar in the mixing bowl. Mix for a few seconds to combine. Add the powdered sugar and start mixing on LOW SPEED to start. Don't turn it on high or you'll have powdered sugar all over the kitchen. Don't ask me how I know that. Mix on low until well combined.
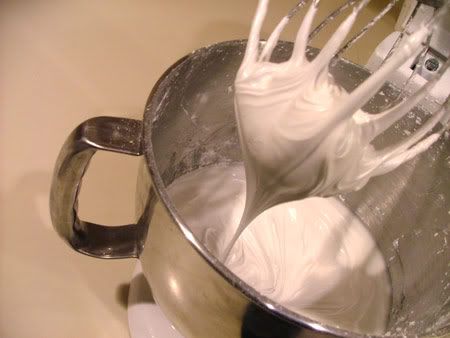
Stop and scrape down the sides of the bowl. Start mixing again, this time on medium speed for 7-10 minutes. The icing should be very stiff and shiny.
The icing dries out very quickly so keep it covered while you work. If necessary, refrigerate icing between decorating sessions. Food coloring may be added a few drops at a time.
Wasn't that easy? We have time to do one more thing before we move on to construction.
LET'S MAKE GLASS WINDOWS!!!!
We're going to need Life Savers to make our glass. I searched and searched for Life Savers in rolls, but this is all I could find.
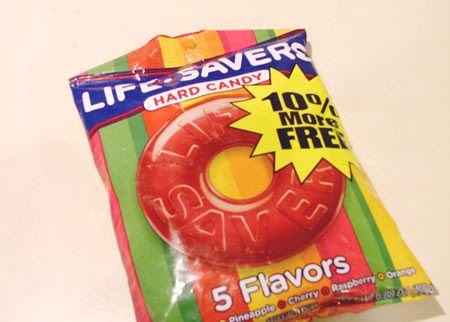
Imagine how I felt when I opened the bag and found all these individually wrapped candies.
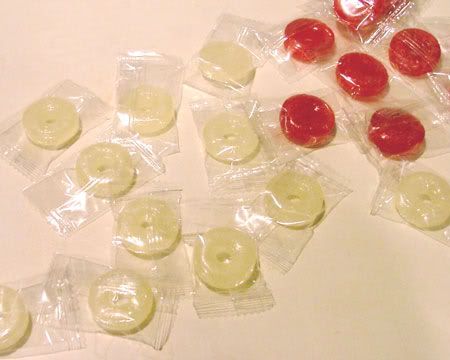
This meant cutting open each little package to get enough candy to crush. I decided to try a little experiment. I found my meat pounder and using the flat side I crushed the candy while it was still in the bag. The plastic held up as long as I didn't smash too hard.
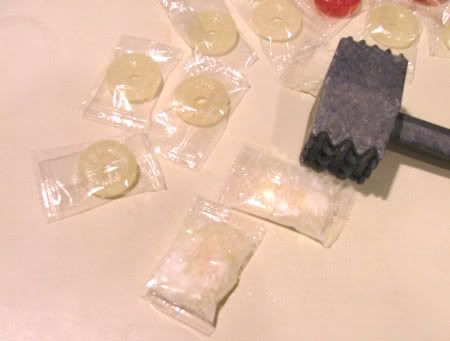
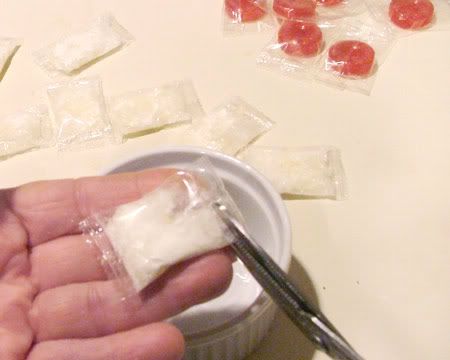
I cut the bags open and poured the crushed candy into a small bowl. I decided to use clear for the square windows and red for the upper round window.
Heat the oven to 350 degrees F. Using a small measuring spoon, fill the spaces with candy being sure not to spill on the gingerbread.
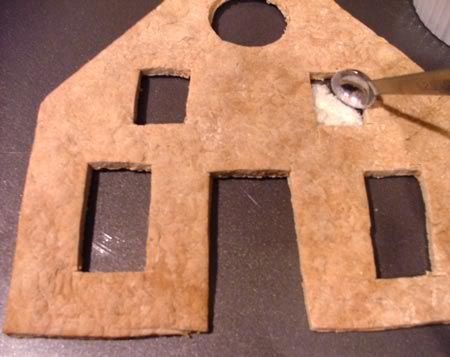
It's ready to go into the oven. Let it bake for about 6 minutes. Check often to see if the candy has completely melted.
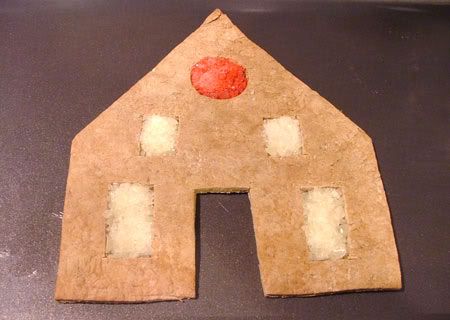
Remove and allow to cool completely. This is a non-stick pan. It releases easily when fully cooled.
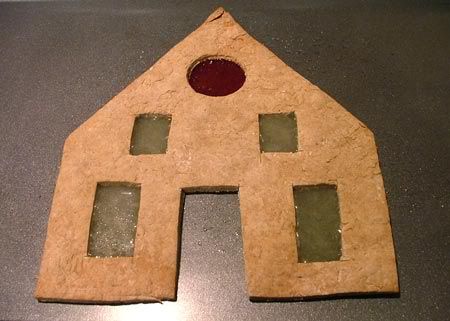
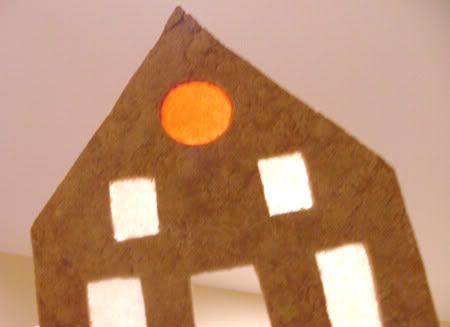
Hold it up to the light and admire your handiwork.
Join me tomorow when we start house construction. Thanks for participating in this fun project.





8 comments:
Good morning..i have been off the internet for over a week and really got behind.
How cute this house is gonna be and i only wish i had time to make one with the grandkids...i am running so far behind in buying gifts,getting them wrapped and etc...i have to spend most of today trying to get caught up before EVE.....
love, bj
Suzanne - I have never seen the trick using hard candies to create clear 'glass'....you clever thing you!
I've always aspired to making a gingerbread house...I'm filing this away to remember for next year...Thanks!
I was wondering about the candy part of this project. Any other kinds that we should be thinking about adding to our shopping baskets?
OK, I've got all my supplies and I'm ready to give this a shot!!
Happy Holidays Suzanne!!
Evening,
Lookin' Good Girl!
I'm right with you so far.
Can't wait to see my er I mean your house is going to look. LOL
Have fun, stay warm now!
Miss Lila in Atlanta
Your royal icing recipe saved the night! Thank you! We do houses every year with the nieces and nephews and my regular icing just doesnt cut it keeping the houses together. I had six houses to put together and now I am ready for the saturday decorating party!
Greeat post thankyou
Post a Comment