
Have fun with this!
- - - - - - - - - - - - - - - - - - - - - - - - - - - - - - - - - - - - - - - - - - - - - - -
I'm going to share a great little project with you today that you can do by yourself or with children. It's an Easter banner that is easy and fun.
First we're going to get together all our supplies:
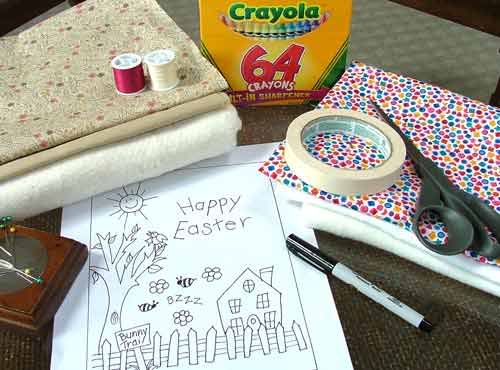
Muslin or broadcloth - about 14 x 16 inches
batting
backing fabric
scissors
straight pins and a needle
fine point permanent marker
masking tape
thread
crayons
pattern
I'll be giving you instructions at the end of this post on how you can get the pattern for free.
If you notice in the above photo, I have two stacks of fabric. One stack is a color combination that will produce a primitive banner and the other will become a brighter banner. It just depends on your preference.
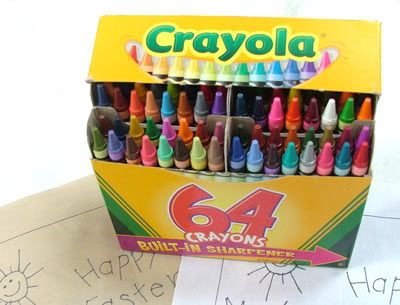
First and foremost this project is the best possible excuse to go out and buy a new box of crayons. Happiness for under $3.
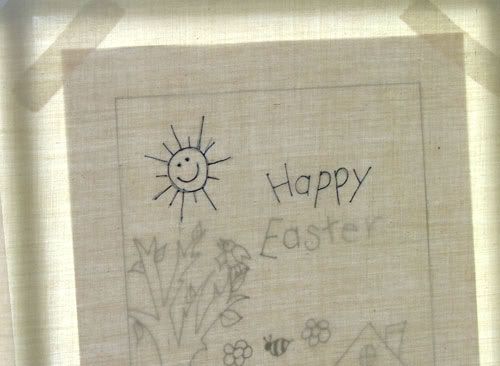
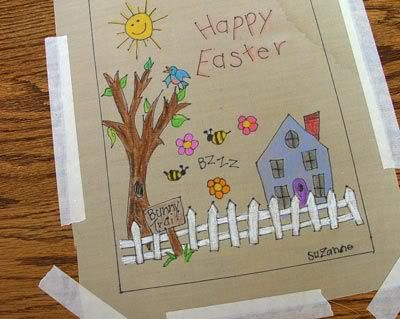
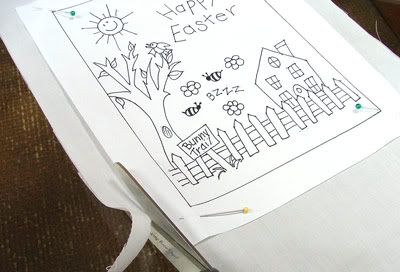
The first thing I'm going to do is take the pattern and tape it securely to a window. This is going to serve as a substitute light box. If you have a light box, use that.
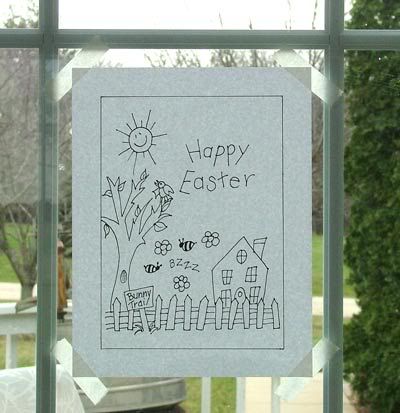
Using a piece of fabric that is larger than your pattern, tape it so that it completely covers the pattern.
Isn't this great? We can see right through the fabric. I guess I don't need to mention that you need to be doing this during the daytime!
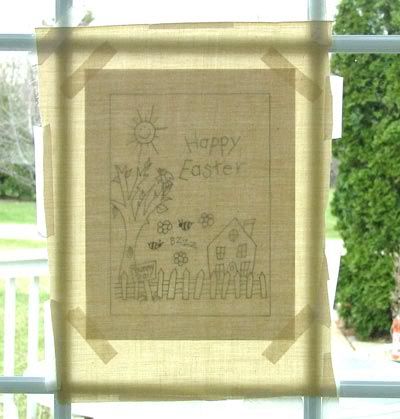
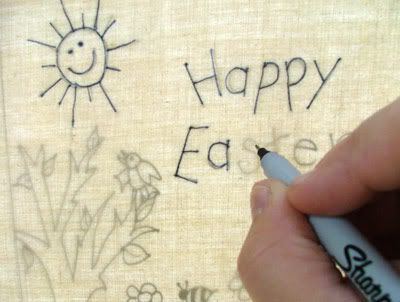
Using the black permanent marker we're just going to start tracing the lines.
Once the main design is traced, take a ruler or a straight edge and trace the outer edge lines.
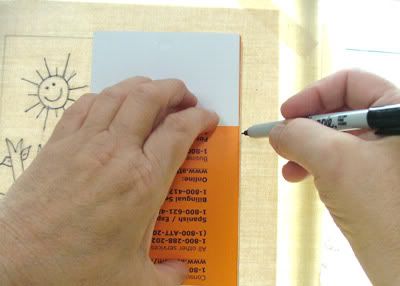
I simply used a brochure that was sitting on the desk. When you've traced the outer lines you'll remove the fabric and the pattern from the window.
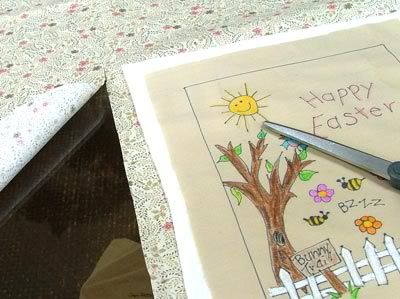
Now the real fun can begin. Sit down at the table and start coloring. Tape the fabric to the table so that it will remain taut while you color.
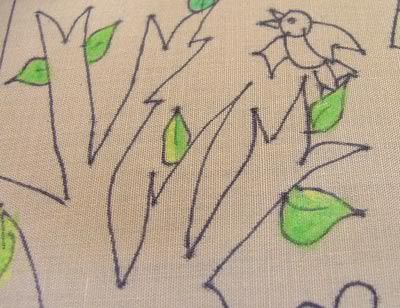
If you notice as I colored in the leaves I used two different colors of green and shaded it. Keep coloring. There are no rules except try to stay within the lines! I would suggest that you keep a scrap piece of your fabric off to the side in order to test colors before you commit. Press harder for more intense color and lightly for soft color.
Here's my coloring on the darker colored fabric.
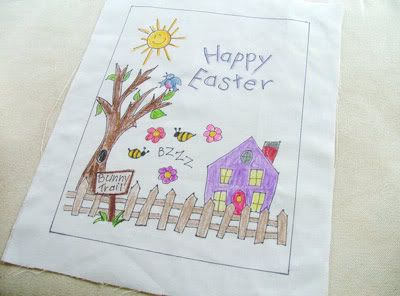
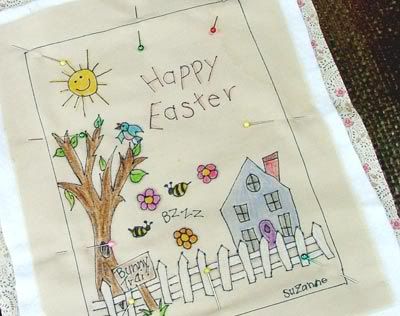
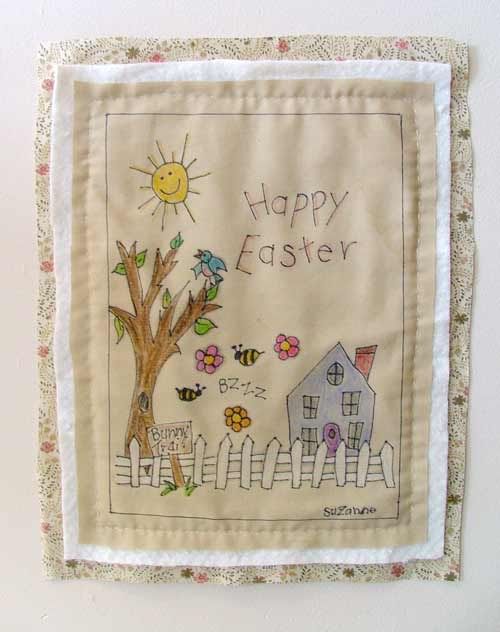
Here's the banner on the white colored fabric.
Here are the two, side-by-side.
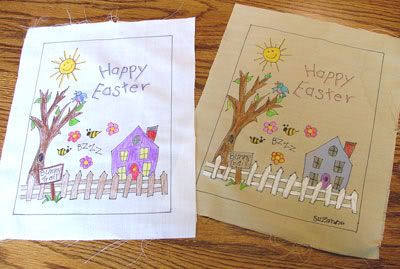
You'll notice that on the tan fabric I can use white for the fence posts and on the white fabric I need to use brown.
We're done with our coloring and we need to set the color to the fabric. Place the banner face up on your ironing board. Cover with a press cloth or a piece of white paper.
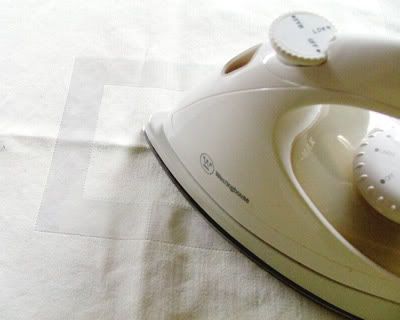
Set your iron to the cotton setting, dry - no steam. Iron for about 5 seconds. Don't push the iron back and forth, pick it up and move it over until the entire area has been covered. Allow to cool.
Place the paper pattern over the fabric piece, pin down and cut out. My pattern is on an 8-1/2 x 11 inch of typing paper. What we're doing is using the paper pattern as a guide to trim the fabric to final size.
Make a sandwich out of the colored panel, the batting and the backing fabric. Each layer is just slightly larger.
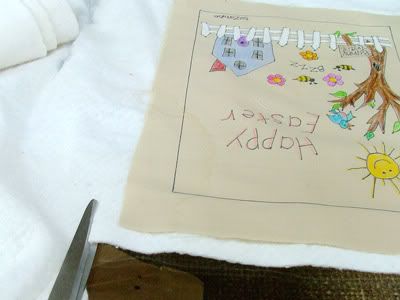
No need to be precise with this. Just lay the colored panel over the batting and cut. Eyeball it.
As you can see the print fabric is facing up because it's going to be peeking out from under the batting. Again, I'm just cutting freehand.
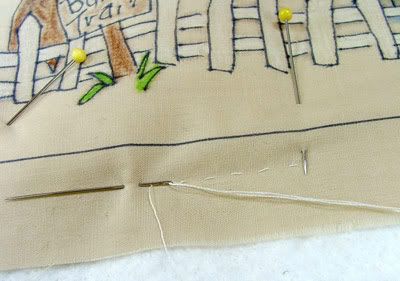
Pin all three layers together so that the fabric doesn't shift or bunch up.
Using whatever colored thread you'd like take a running stitch around the edge to bind all three layers together.
Attach a small plastic drapery ring, or a loop of fabric or ribbon to the back for hanging.
Here are the two finished banners:
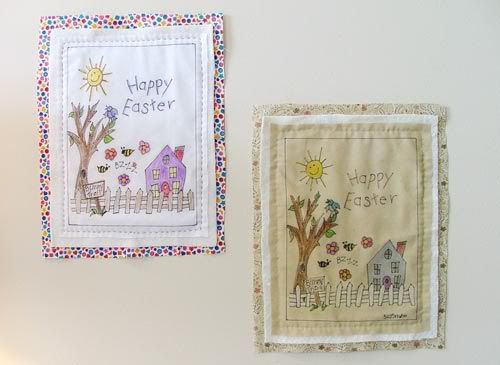
The primitive one -
and the brighter one -

Did that all make sense? I hope so.
This project is so much fun and you can draw your own design or have the kids sit down and draw on paper, trace and color their own designs. You can do these for every season, birthday banners, whatever!
TO GET THIS EASTER DESIGN FOR FREE:
- Email me at: Abscissa63@aol.com
- Put the words "Easter banner" in the subject line.
- I will e-mail you the PDF file.
This terrific technique was developed in the mid-1990's by a craft designer named Ronda Matney. Her patterns were produced under the name "Plain Brown Wrapper" and were a series called, "Don't Go Out of the Lines". They were larger and more detailed than the simple design I've created. I bought almost every one she produced. I've searched the web and I don't think she's publishing them any longer. But if you're interested you might be able to find some on Ebay.
Thanks for joining me for this tutorial and let me know if I've forgotten anything or if it's not clear.
Bottom line - - get together as a family or a group of friends and have some fun with this!


5 comments:
I have this one on file actually. Pretty soon I'm going to have the boys try it...they're almost ready, but not quite. Perhaps if I chose a simpler picture to color. (I'm saying all this about the grands, but both won coloring contests at the local grocery at Christmastime. Personally, I think it was a set-up. Oops! There I go again.) This does have a lot of potential and sparks lots of ideas. Oh to be teaching art and craft classes again.
Thanks for the advance on Easter, too. April 24 this year. I was hoping to get out my spring stuff a bit earlier.
this note is to you because today is National pancake day, I had copied your reciped for pancake mix over two years ago! and have yet to make it, so today we are having pancakes for supper made with your mix! I will let you know how it goes.
i like the banner project, but am not crafty at all and my grands that live close are a bit young for that.
Pam
I continue to admire your creative talents. This banner is adorable -- and what a fantastic project for youngsters. Hope you've got some sunshine today -- Happy March 1st!
O, these are sooo cute. I have a 9 yr old grandgirl that would LOVE doing this. I think we CAN!!
I will start gathering up the fabrics and colors.
If you would send me the pattern, I would be most thankful.
bjconklin@xanadoo.com
Thanks so so much.
xo bj
O, these are sooo cute. I have a 9 yr old grandgirl that would LOVE doing this. I think we CAN!! I will start gathering up the fabrics and colors. If you would send me the pattern, I would be most thankful. bjconklin@xanadoo.com Thanks so so much. xo bj
Post a Comment