My Uncle Jackie and Aunt Gwen had a farm in the Florida panhandle where they grew cotton, peanuts and sugar cane. Each summer we would make the long journey and spend a week on the farm. They were mostly self sufficient as was the case of many farmers back then. They had a Jersey cow for milk, cream and butter, a hog that was butchered in the fall and a garden that provided fresh vegetables. Other items were purchased at the market or obtained by trade with other farmers.
Despite the fact that Gwen was severly crippled by a virulent form of arthritis, she did all the normal chores of a farm wife including cooking a huge midday meal for all the farm hands. The table would literally groan under the weight of the fried chicken, fresh green beans, mashed potatoes smothered in milk gravy. There was always a large batch of fresh butter for the mountains of hot biscuits.
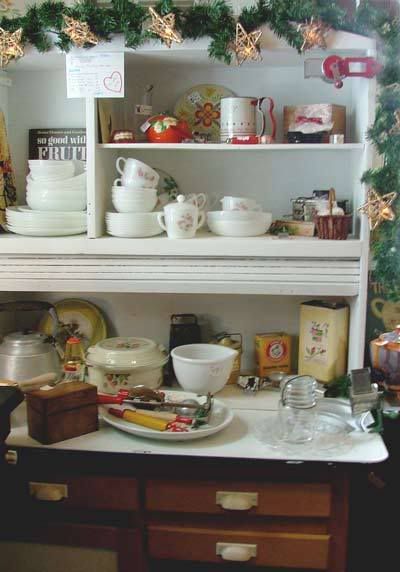
Her kitchen was her workplace and I remember with fondness her Daisy butter churn. These were tabletop models and Aunt Gwen would sit at the table watching Jackie in the field, churning her butter. These churns have become desirable collectibles and I'm constantly on the lookout for one on Ebay or estate sales. No luck yet. The prices are pretty sky high.
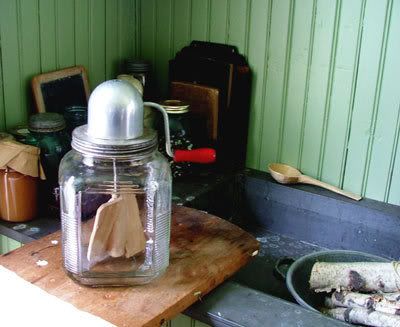
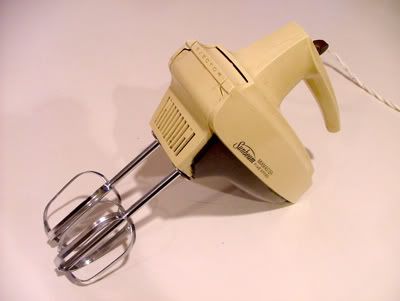
The butter we're going to make today is a little different than Aunt Gwen's. She would have used fresh cream skimmed off the top of a large container of milk that had been standing for at least 12 hours. This type of butter has a stronger flavor and you would need to have a local dairy farmer or farmer's market that sells fresh milk or cream. Today we're going to use heavy whipping cream and an electric mixer. There are other methods and we'll talk about that later.
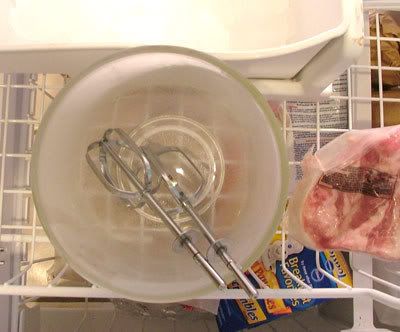
When working with any type of cream I always put both the bowl and the beaters in the freezer for at least 30 minutes.
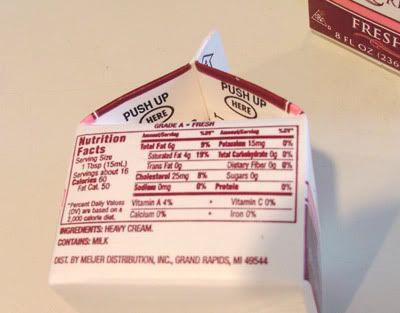
We're going to be using two pints of heavy whipping cream. You'll need to look for a brand that is not ultrapasteurized. Also check the label to make sure that other things haven't been added, such as carageenan. This contains only cream.
Pour the cream into the chilled bowl and start whipping at a high speed. It only takes a minute or two and the mixture will become very creamy.
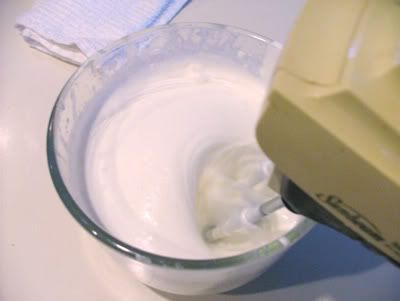
The next stage is soft peak and in about a minute or two you will have reached the stiff peak stage. From here the mixture will quickly seize up and start to get chunky.
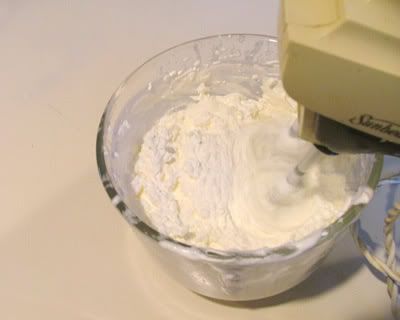
Keep beating. Some magic is about to happen. All of a sudden the chunky mixture will begin to turn a pale shade of yellow. I'm sure there's all kinds of scientific explanations as to how this happens, but let's just say it's magic.
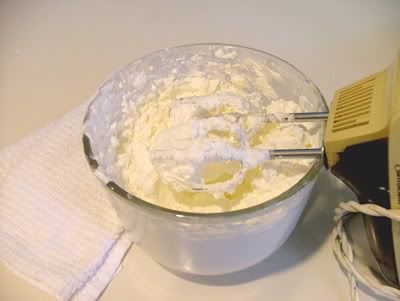
Keep beating. Don't get discouraged. It will take about 10-15 minutes from the time you started. The action of the beating is encouraging the flat globules in the cream to join together. All of a sudden BAM....they decide to form a bond and separate themselves from the buttermilk. You'll see little droplets of moisture forming and then a quantity of buttermilk will appear. You're going to need to pour it off or it will be flying all over your kitchen!
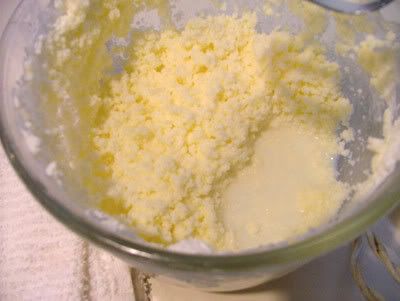
Continue to beat the butter until there doesn't seem to be anymore moisture being released.
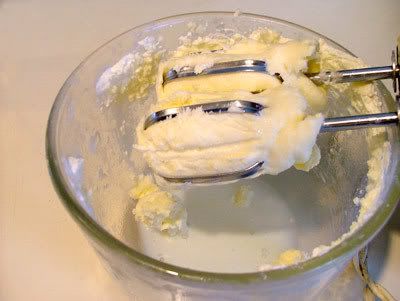
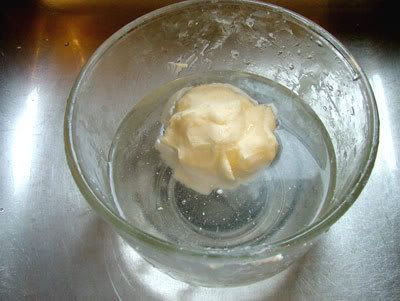
Now you're going to rinse the butter in very cold water. Knead the butter, this will coax any remaining buttermilk out because it will cause your butter to sour.
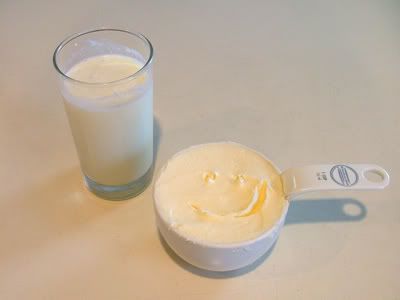
From 2 pints of buttermilk I got 1 cup of buttermilk and 1 cup of beautiful butter.
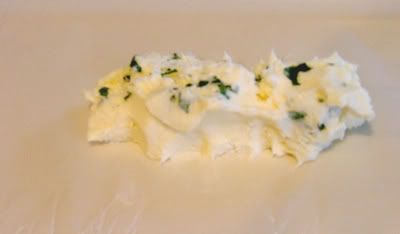
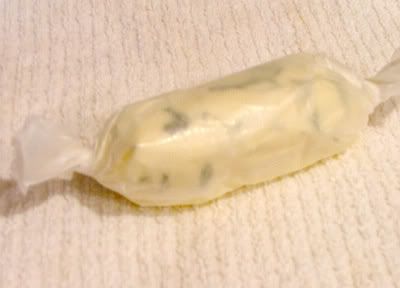
At this point you can add some salt or other ingredients. I cut the batch in half, put some in a jar for daily use and I mixed the other half with fresh herbs. Plop the herb butter onto a sheet of waxed paper, roll the paper over and roll between your hands so that it's round. Twist the ends and put into the freezer. This can be sliced at served.
This is such a fun project to do with your children. Another method is to put some cream into a Tupperware container with a marble and allow the kids to shake, shake, shake until it becomes butter.
The Engineers Who Cook have a great explanation of all the processes. You can find it here.
Please let me know if you try this recipe. I'd like to know how it turned out.
Tomorrow we're going to look at what I'll call, fashion varia...this and that.


